If you are running a WordPress site, the WP-Juicebox Plugin for WordPress must be the easiest way to add a Juicebox gallery to your website.
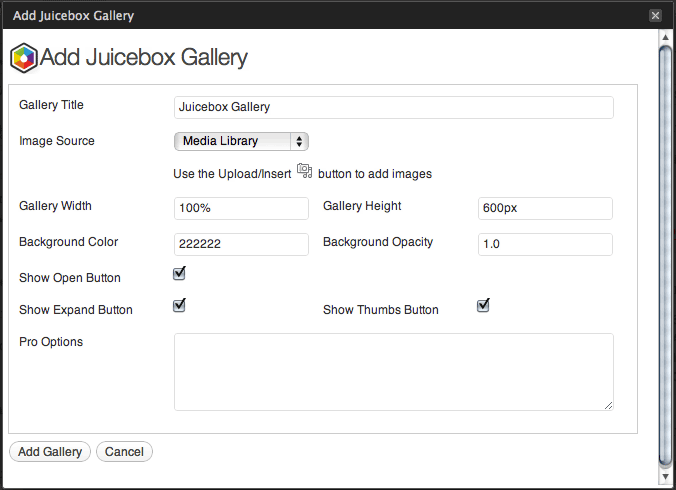
Once it’s installed, create a new post and click the Juicebox icon to add a gallery. You’ll get a short popup form to customize and add images to your gallery. You can load images from the post’s Media Library, from Flickr, or from a NextGen gallery (new in v1.1.1).

This is what you will end up with:
This example is loading images from Flickr. The gallery automatically scales to fit your blog post and includes an ‘Expand’ button which allows users to see the images at full size. Later on you can edit or delete galleries through the ‘Manage Galleries’ page.
The WP-Juicebox plugin is free to download and use. You can easily upgrade it to unlock Juicebox-Pro functionality. In addition to the WordPress plugin there are also plugins for PhotoShop, Lightroom, Picasa and jAlbum. Check them out here.
